Master Your Kiosk in Minutes with Step-by-Step Workflows
From setup to advanced configurations, follow our guided workflows to unlock the full potential of Zamok.
VISUAL GUIDE FOR KIOSK WORKFLOWS
Use this guide as an orientation tool when setting up your Kiosk’s interface and building workflows. It is intended to introduce you to Zamok’s customization capabilities so that you can maximize the value of your kiosk solution.
Update everything right from your desktop!
- Simply point, click & follow easy onscreen directions to customize your Kiosk’s interface.
- Instant updates from your PC straight to your Kiosk.
Getting Started with the User Dashboard
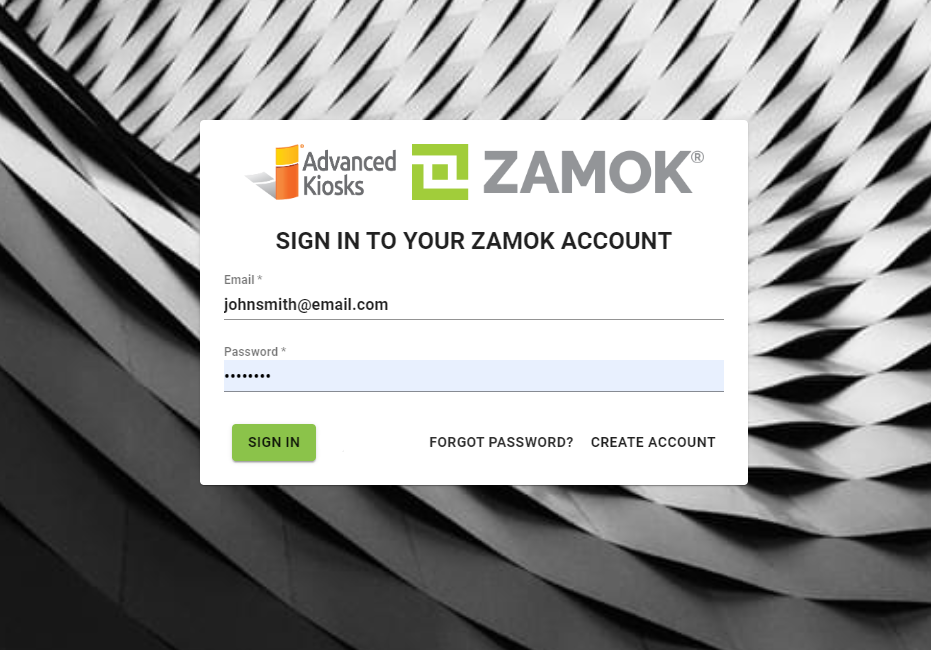
1. Using a Google Chrome browser, visit kioskdashboard.com and log in to your Zamok account.
Hover over an icon to learn more
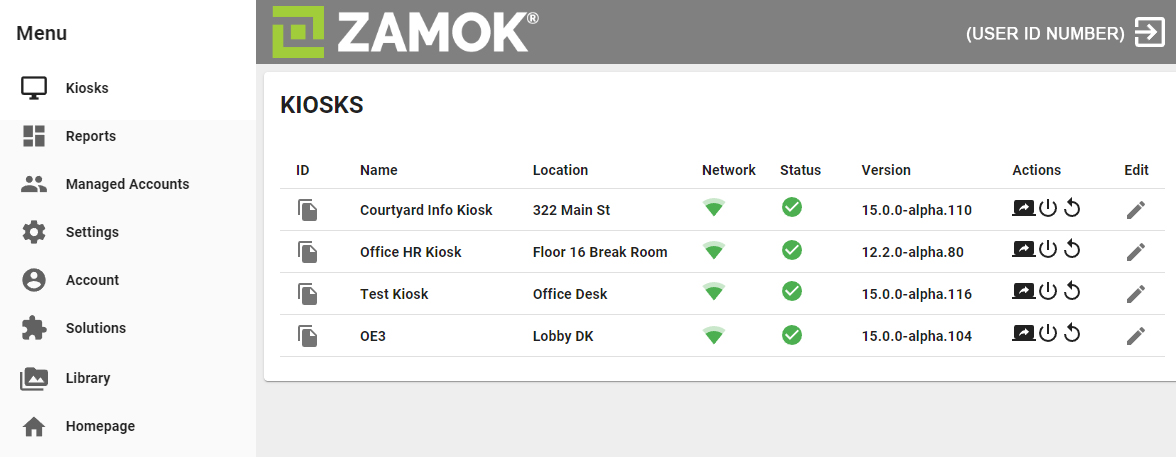
2. Locate and select the 'Kiosks' tab from the sidebar menu to view information and control your kiosk(s). Here, you can remotely shut off, restart or refresh the kiosk, monitor statuses and capture screen shots of what is currently being displayed on the monitor.
Hover over an icon to learn more
3. Locate and select the 'Homepage' tab from the sidebar menu. This will take you to the Homepage editor, where you can configure workflows and stylize your kiosk's user interface.
Hover over an icon to learn more
4. Point and click on on an element within the homepage preview window to select it. Notice that options within the sidebar menu will change depending on which element is selected.
Hover over an icon to learn more
WORKFLOW: Document Scanning
Choose the SCAN DOCUMENT Workflow to configure a scan routine consisting of helpful text and imagery to guide the end-user throughout the process. Configure questions and answers to determine the path of document delivery, provide printed or emailed time-stamped receipts, enable notifications and alerts for staff & more.
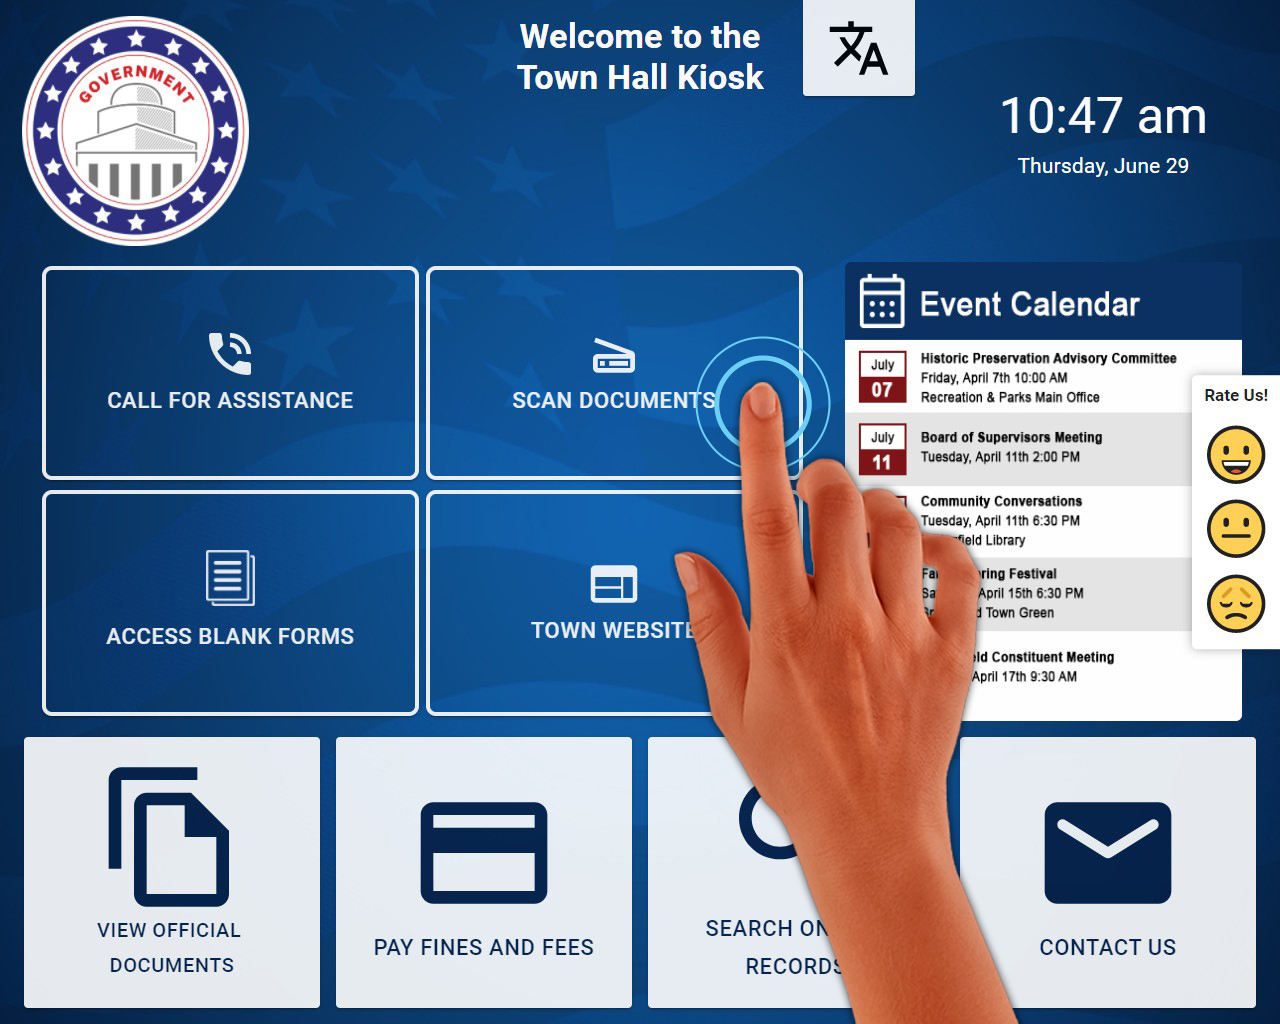
Step 1:
User taps scan button
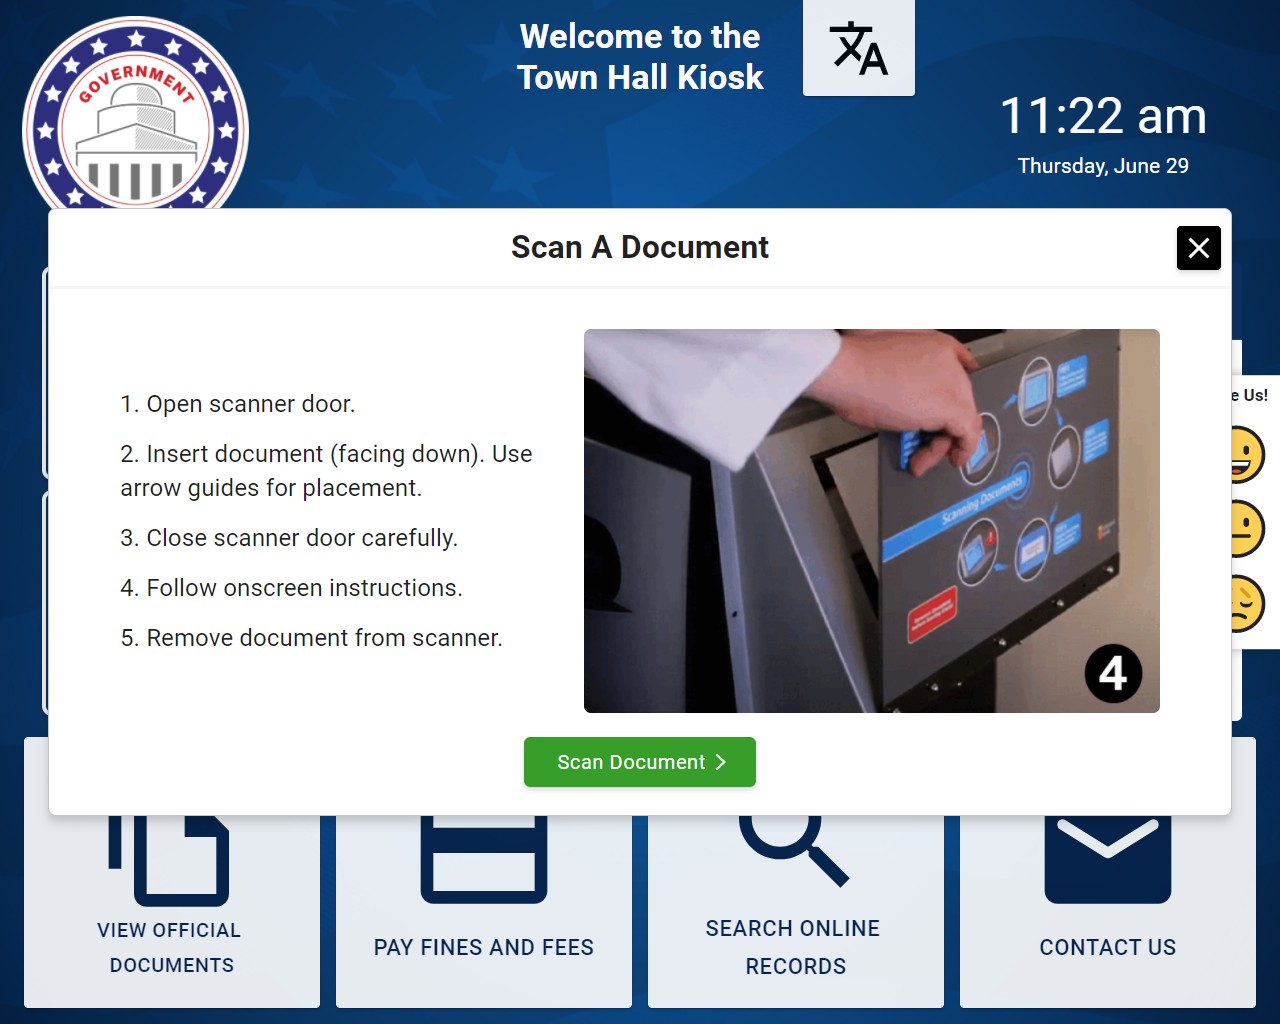
Step 2:
User reads directions, operating the scanner while referencing the image
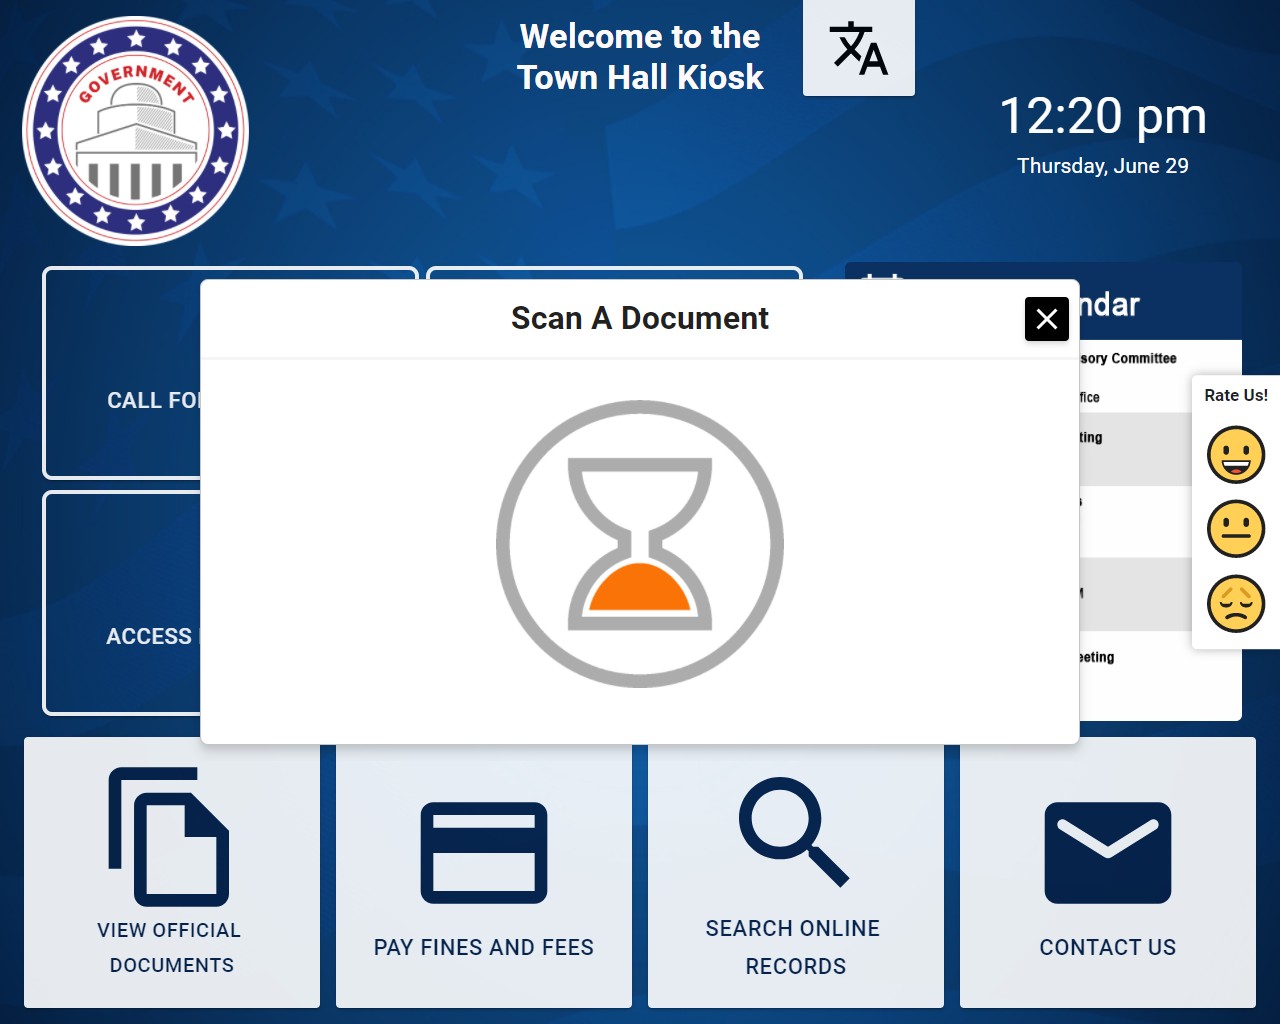
Step 3:
Scan in progress
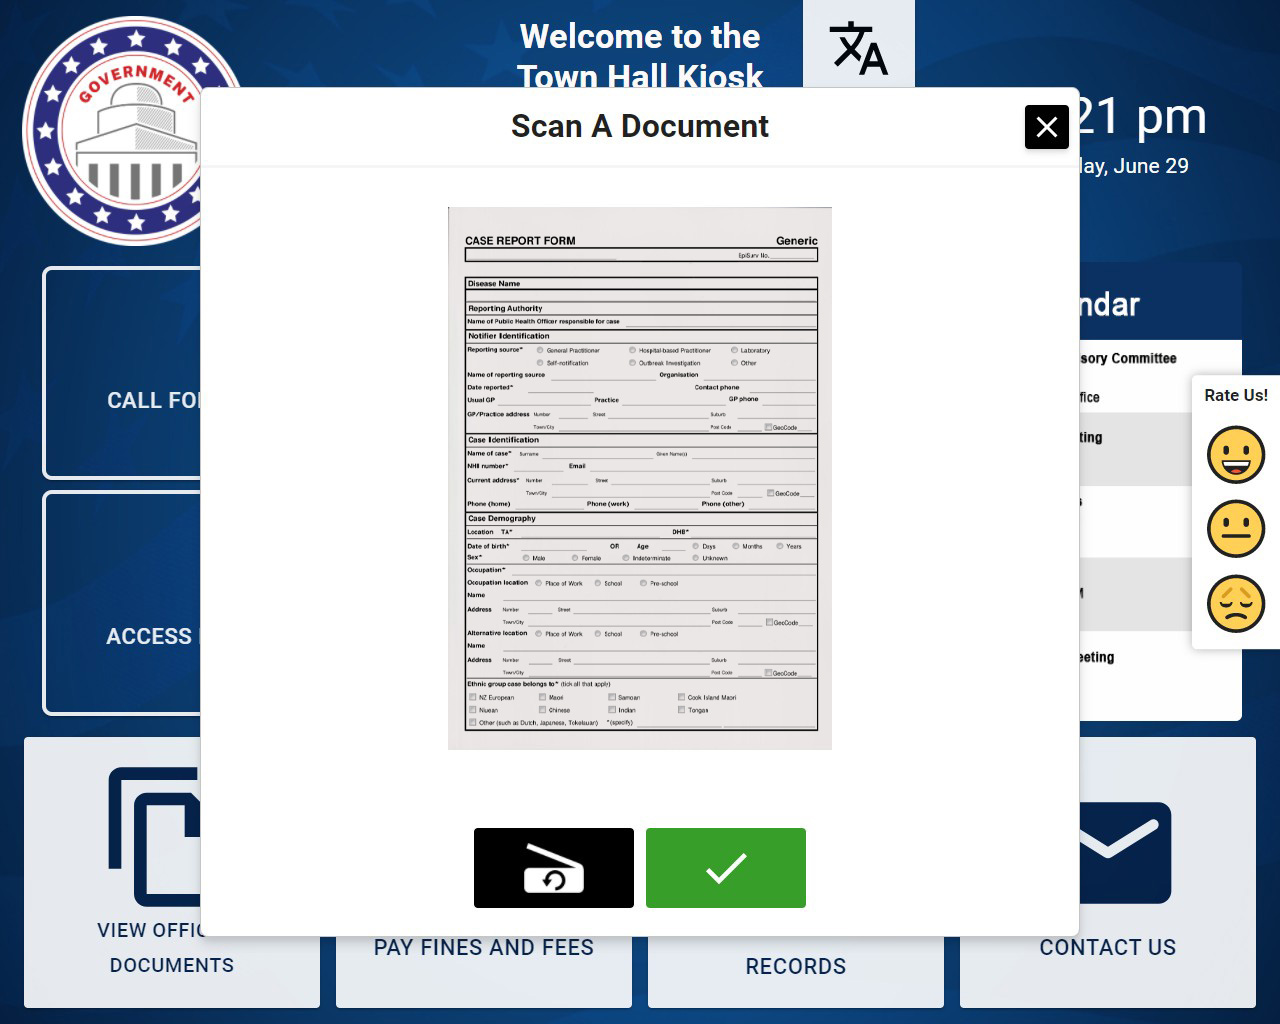
Step 4:
User reviews scan result
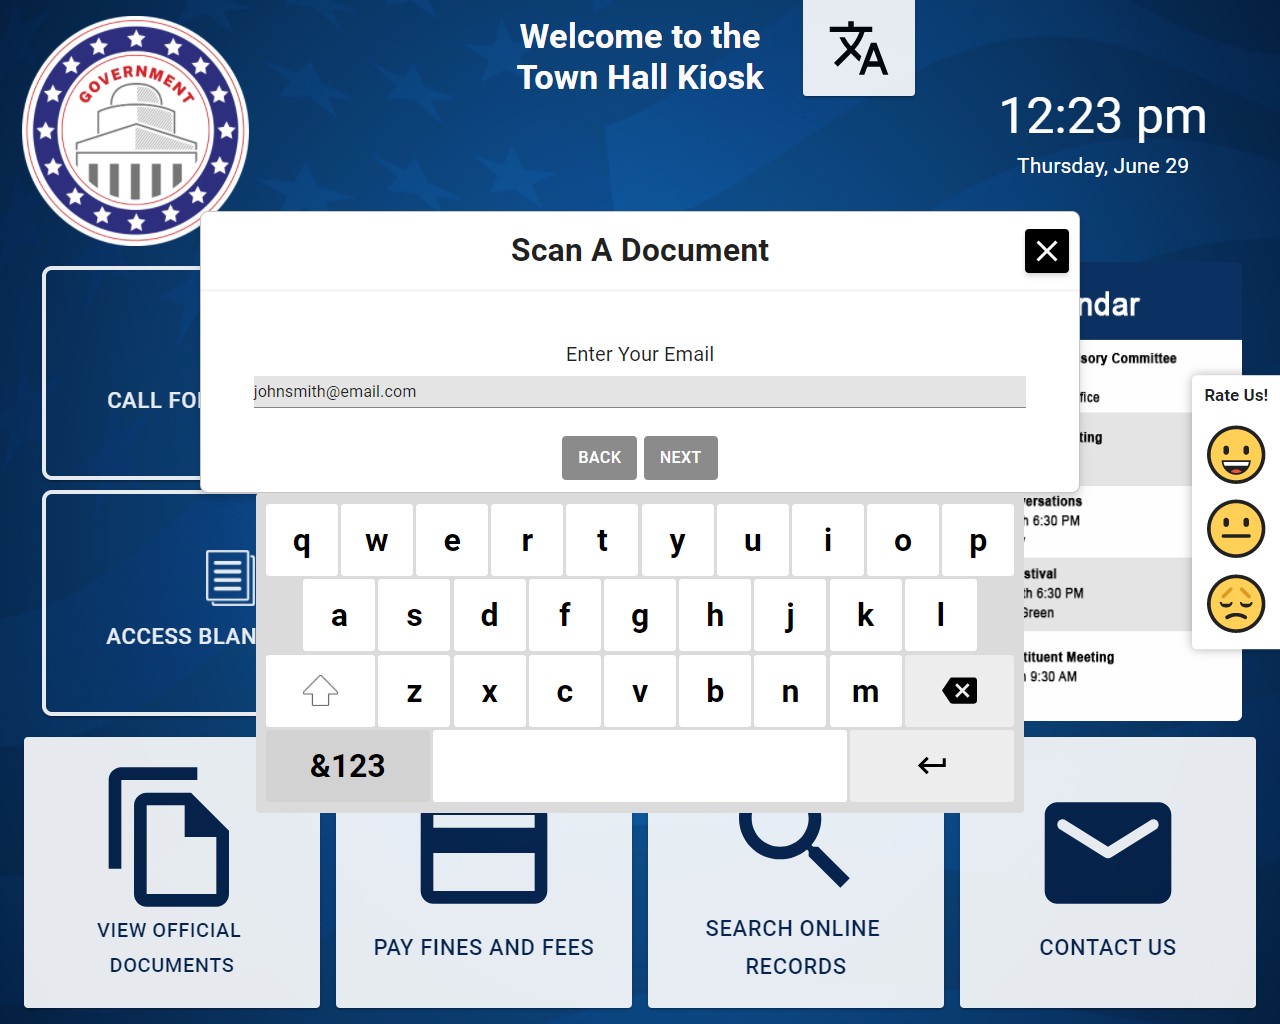
Step 5:
User enters email address for receipt

Step 6:
User selects contacts for scan delivery
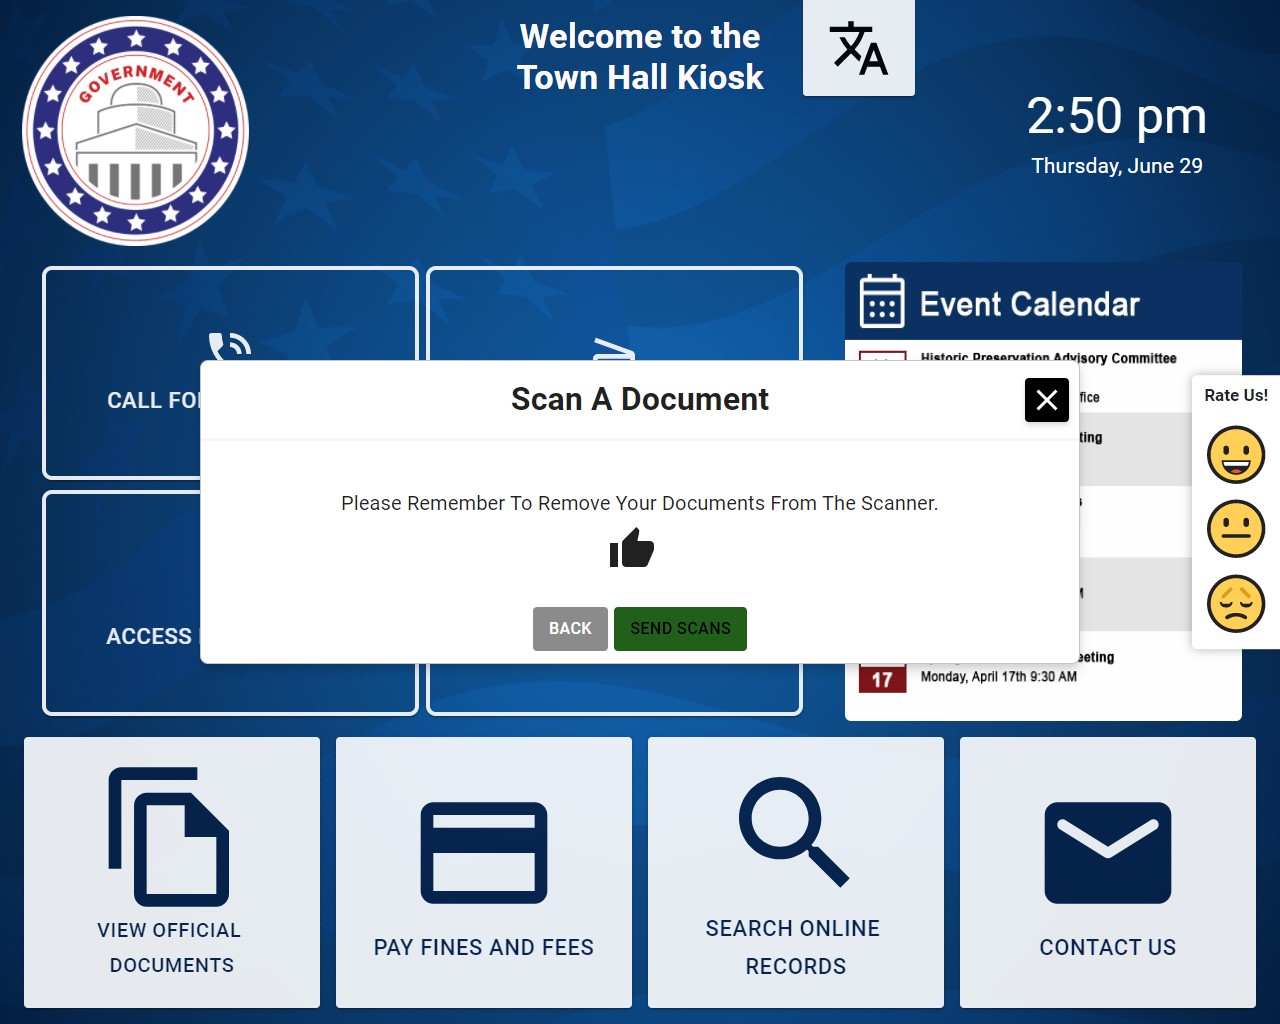
Step 7:
User receives confirmation
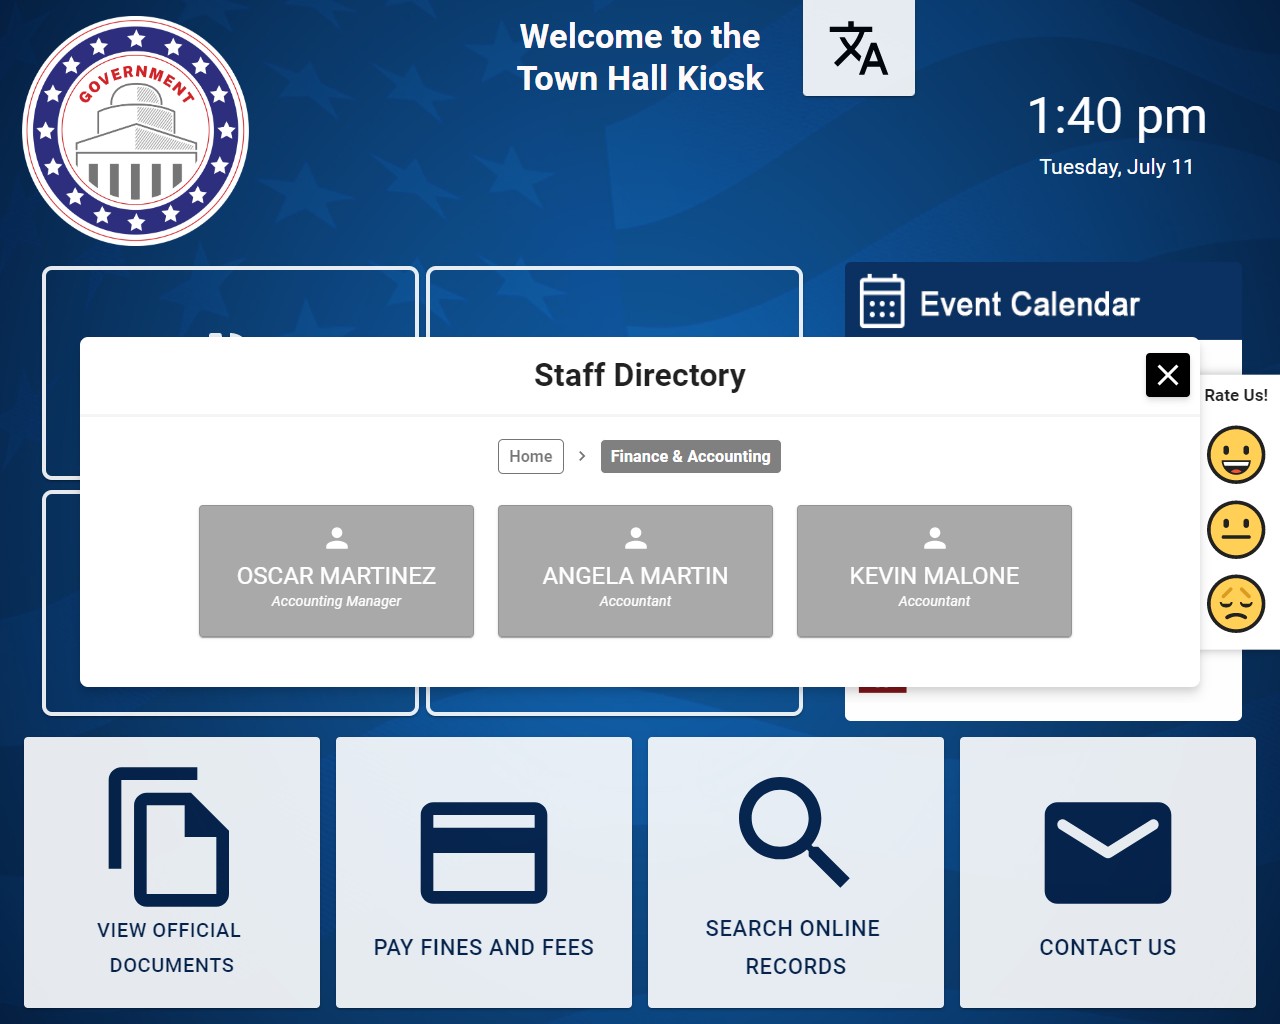
WORKFLOW: Webview Navigation
Use the NAVIGATION Workflow to link a button in your kiosk’s interface to any website of your choosing.
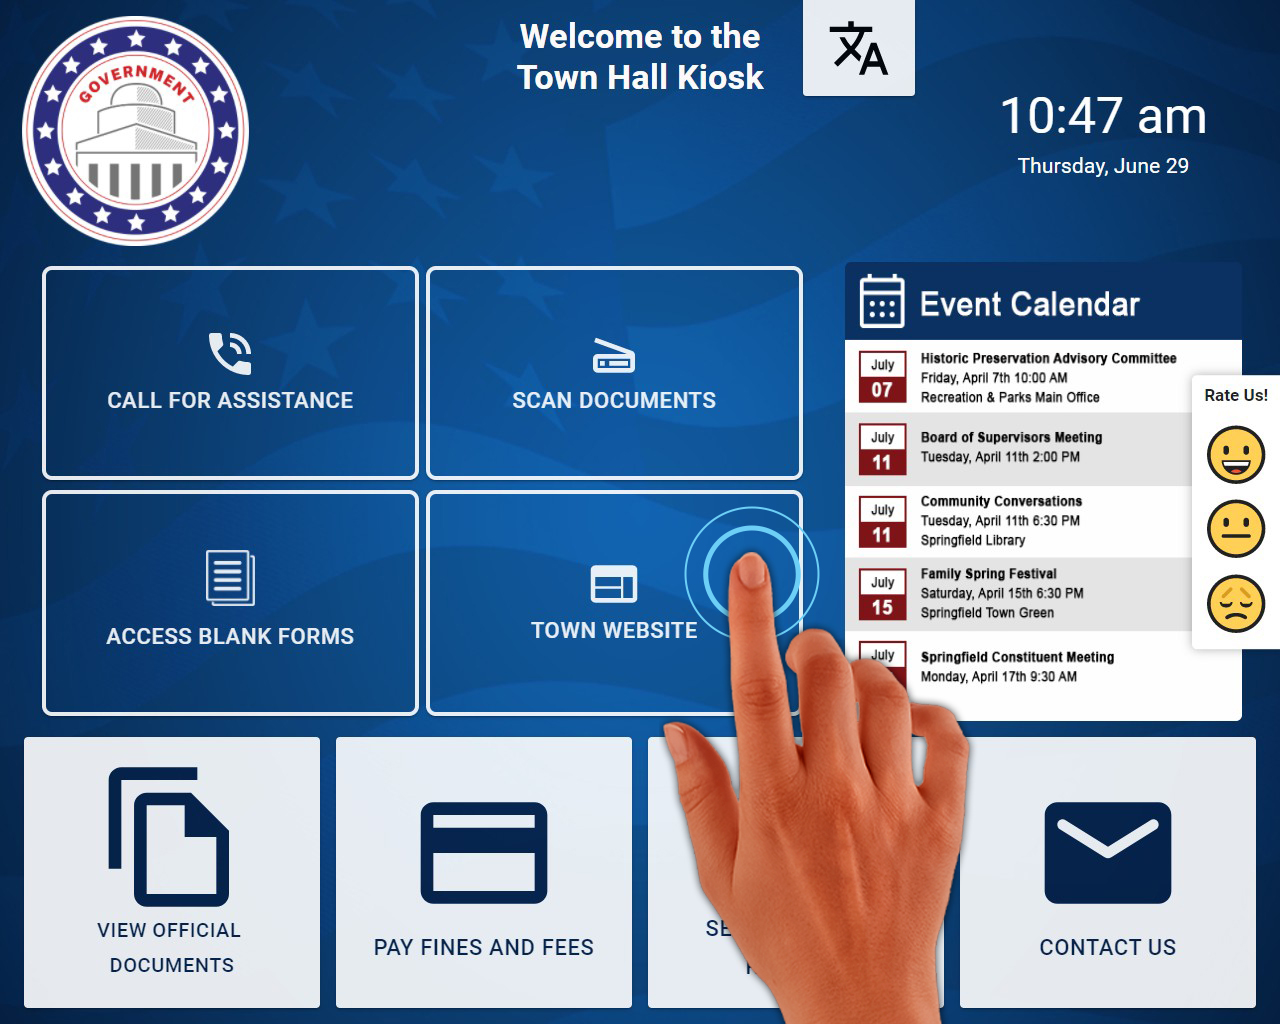
Step 1:
User taps Website button
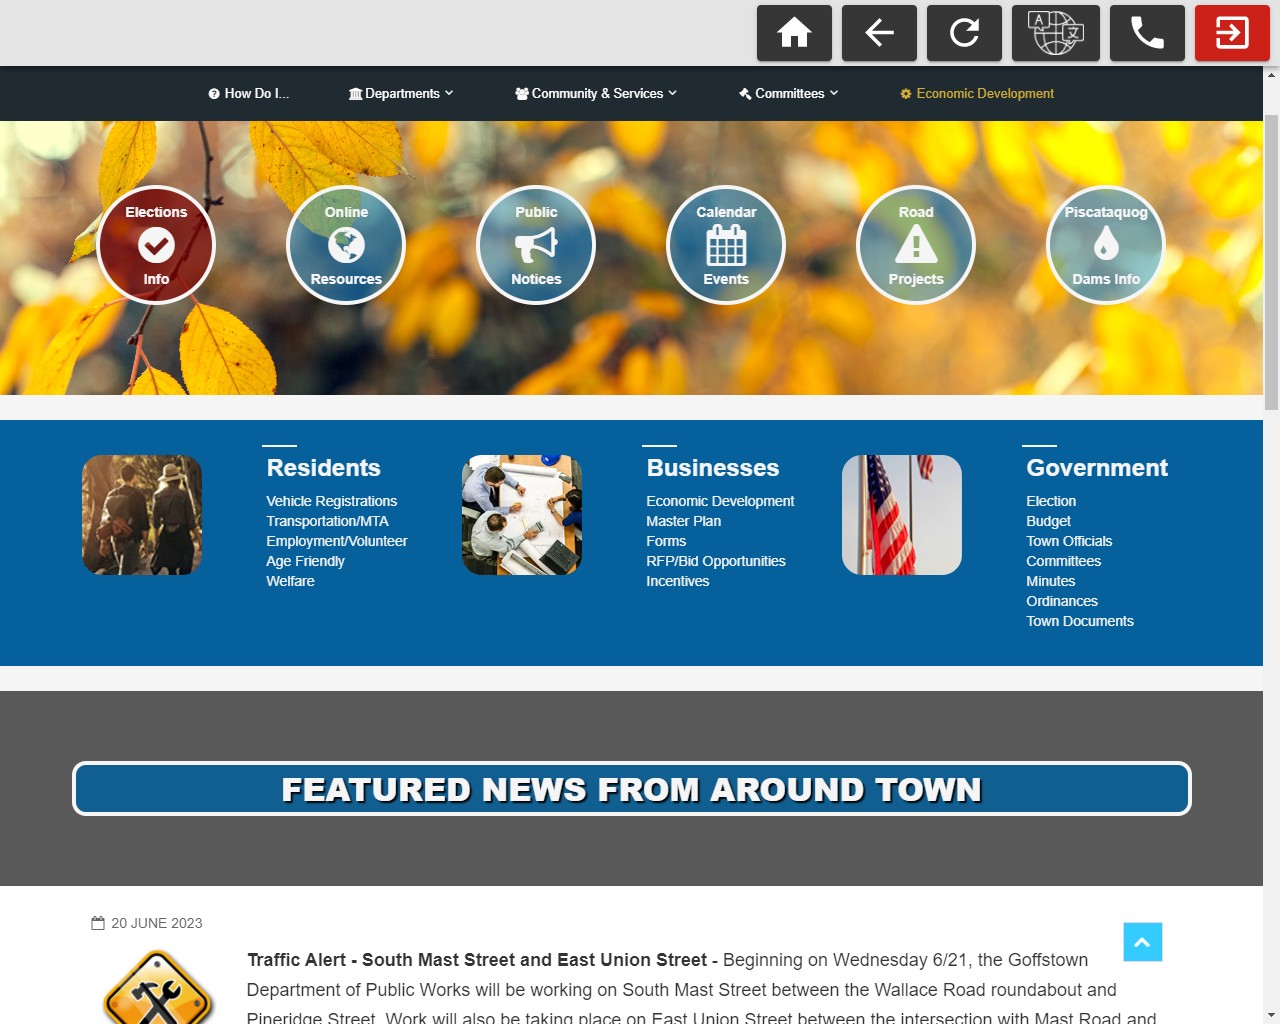
Step 2:
User is brought to any website of your choosing with limited web browsing ability and touch-screen-friendly navigation controls
WORKFLOW: VOIP Calling
Use the VOIP CALL Workflow to program a button in your kiosk’s interface to place a call to any contact of your choosing within your directory.
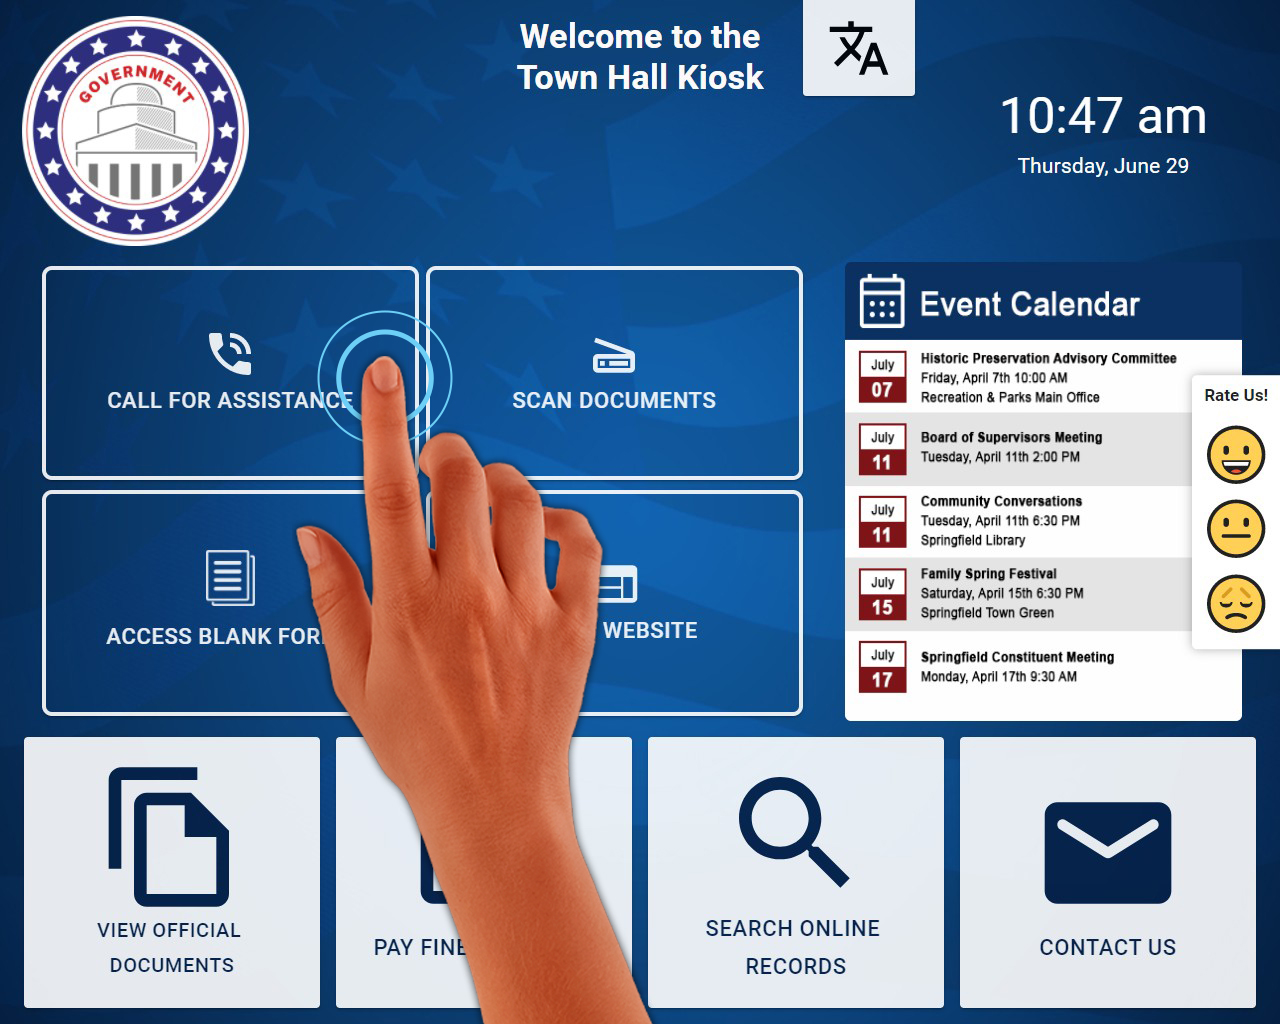
Step 1:
User taps Call for Assistance button
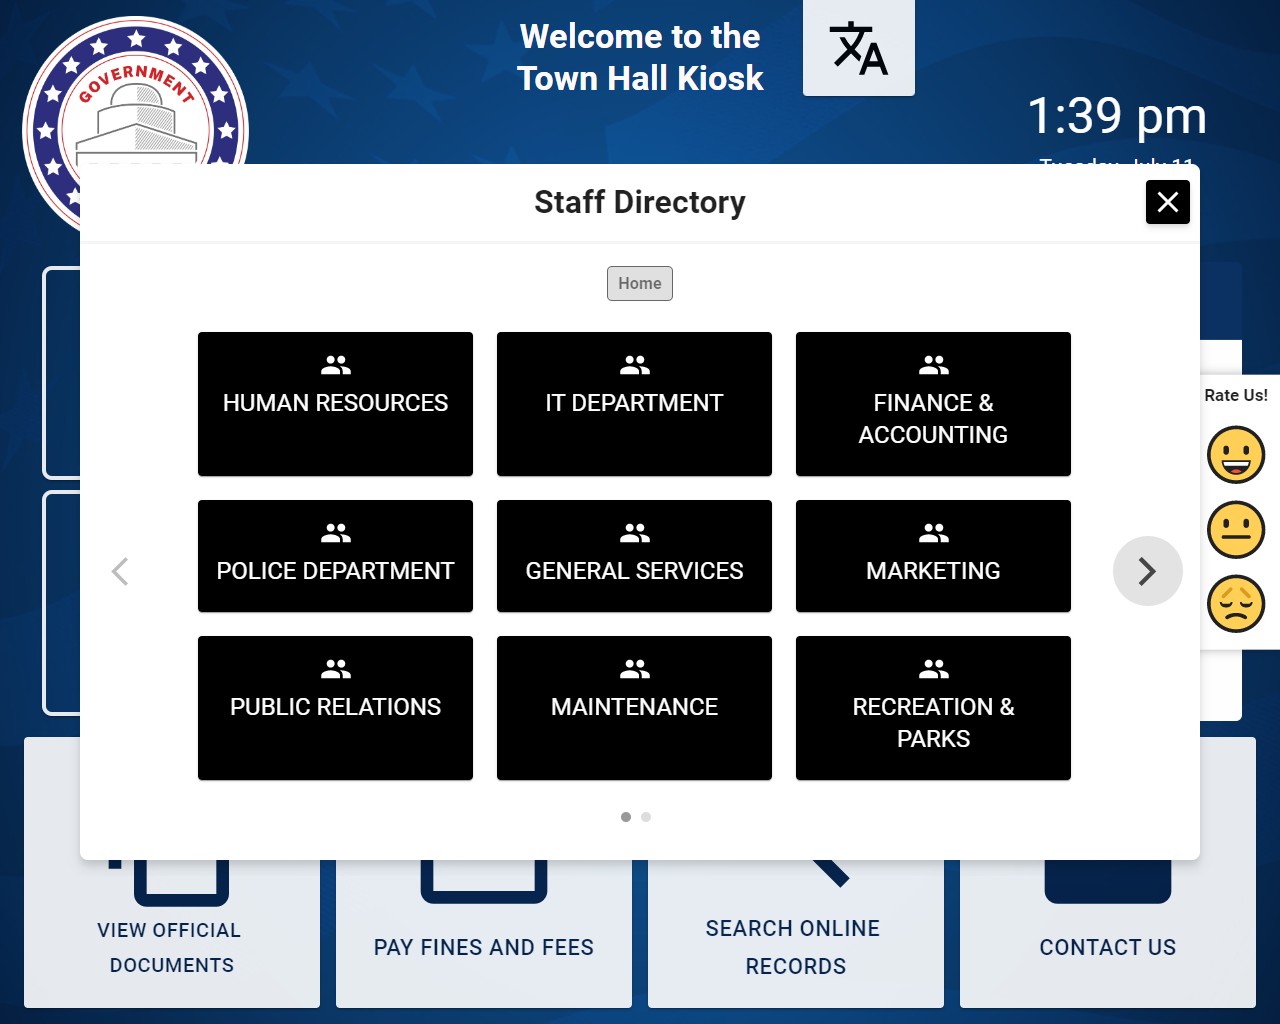
Step 2:
Using the contact picker, the user chooses a Group containing their potential point of contact.
Step 3:
Using the contact picker, the user chooses the Contact they want to call.

Step 4:
An active call window appears, showing the contact name, call duration and call controls.